Want to customize your garden tractor and save money? Building your own attachments is a rewarding and surprisingly accessible project. This guide provides step-by-step instructions for creating popular attachments, emphasizing safety throughout the process. Remember, while DIY saves money, safety should always be your top priority. We'll cover building a cultivator and a box blade, but the principles can be applied to many other projects. For more ideas on attachments, check out this helpful resource on tiller attachments.
Essential Tools and Materials: Setting Up Your Workshop
Before starting, gather the necessary tools and materials. The exact requirements vary depending on the project, but here's a comprehensive list. Don't feel pressured to own everything; borrowing or renting specialized equipment is perfectly acceptable. Prioritize safety gear; it's an investment in your well-being.
| Tool/Material | Description | Necessity Level | Budget-Friendly Alternatives | Safety Considerations |
|---|---|---|---|---|
| Welding Equipment | Arc welder (or MIG/TIG for more advanced projects), welding helmet, gloves | High | Consider renting, especially for one-time projects. | Always wear a welding helmet with an appropriate shade lens and protective gloves. |
| Measuring Tools | Tape measure, level, square, calipers | High | A good quality tape measure and a basic level are sufficient for many projects. | Ensure accurate measurements to avoid costly mistakes. |
| Cutting Tools | Angle grinder with cutting discs, hacksaw, metal shears | High | A hacksaw is a versatile and less expensive option for many cuts. | Wear safety glasses and hearing protection when using these tools. |
| Metal Stock | Steel plate, angle iron, square tubing (thickness varies by project) | High | Consider sourcing scrap metal from responsible suppliers. | Ensure that the metal is strong enough for the intended purpose. |
| Fasteners | Bolts, nuts, washers, cotter pins, grade 8 hardware (for strength) | High | Choose fasteners appropriate for the load and application. | Use the correct size and type of fastener to avoid stripping or failure. |
| Paint (Optional) | Rust-resistant paint and primer | Medium | Painting protects your investments and extends their life. | Use appropriate ventilation when applying paint. |
| Safety Gear | Safety glasses, work boots with steel toes, hearing protection, welding helmet | High | A good investment to prevent serious injuries. | Always wear appropriate personal protective equipment (PPE). |
| Grinder Accessories | Grinding wheels (various grits), wire brush | Medium | Having abrasive wheels of varying grits allows fine tuning of metal shapes. | Use appropriate safety precautions when using a grinder. |
Building a Simple Cultivator: Your First Project
A cultivator is an excellent starting point for beginners. It's relatively simple to construct, yet teaches fundamental skills applicable to more complex attachments. Remember, even simple projects require careful planning and precise execution. Is this your first welding project? Consider taking a beginner's course or watching instructional videos – safety first!
Step 1: Design and Material Selection: Sketch the cultivator, focusing on width, tine (soil-tilling "teeth") number and spacing, and overall length. Simple designs are best to start. Consider rebar or readily available steel rods for tines and angle iron for the frame.
Step 2: Fabricating the Tines: Cut steel rods to the desired length. Sharpen tine ends for improved soil penetration; a grinder with a metal shaping wheel is helpful. (Did you know that properly sharpened tines can increase cultivator efficiency by up to 15%?)
Step 3: Assembling the Frame: Weld tines securely to the frame, ensuring even spacing. Use sound welding practices; online tutorials are excellent resources. Remember, strong welds are crucial for longevity and safety.
Step 4: Mounting the Cultivator: Most tractors use a three-point hitch system. Consult your tractor's manual for attachment instructions. Double-check connections before operation. (Failing to properly secure your attachments is the leading cause of DIY tractor attachment accidents.)
Step 5: Testing and Adjustments: Begin with a small test area. Observe the cultivator's performance and adjust tine depth or spacing as needed. Refinement is a normal part of the process.
Building a Box Blade: A More Advanced Project
Box blades are heavier-duty for soil leveling and grading, requiring precise measurements and welding expertise. This project requires a deeper understanding of structural integrity and material selection. Consult plans or diagrams specifically designed for box blade construction to minimize errors. Do you understand the principles of leverage and stress distribution within the design? This is critical for success and safety.
Step 1: Detailed Design: The box blade comprises multiple components: a main body, angled blades, and a hitch attachment. Accurate drawings are paramount. Prioritize finding established plans instead of designing from scratch, especially as a beginner.
Step 2: Material Selection: Use thicker steel plate (at least 1/4 inch) and sturdy angle iron to resist stress. Don't compromise on material quality; safety is paramount. Think carefully about the potential forces involved.
Step 3: Cutting and Shaping: Precise cutting is key. Use appropriate tools carefully, adhering to safety protocols, and ensuring clean, accurate cuts.
Step 4: Welding and Assembly: Robust welds are crucial. Pay close attention to alignment to ensure smooth blade cutting. Proper welding technique is paramount for achieving a safe and effective box blade.
Step 5: Mounting Mechanism: The mounting system must be robust and securely attached to your tractor's three-point hitch. Ensure a stable attachment to prevent accidents.
Step 6: Testing and Refinement: Testing reveals areas for improvement. Adjust blade angles and depth until performance meets your expectations.
Safety First: An Ongoing Commitment
Always wear appropriate safety gear: safety glasses, hearing protection, work gloves, and steel-toed boots. Thoroughly inspect attachments before use, checking for cracks, loose bolts, or damage. Never operate the tractor beyond your skill level or in unsafe conditions. Following safe practices isn't just recommended; it's essential. Dr. Anya Sharma, Professor of Agricultural Engineering at Cornell University states, "Safety should never be an afterthought in any DIY project, particularly those involving heavy machinery. A moment of carelessness can have lasting and devastating consequences."
Legal and Regulatory Compliance: Knowing the Rules
Research local and state regulations concerning homemade equipment. These regulations might require inspections or certifications. Non-compliance can lead to legal issues; check your local ordinances.
Expanding Your Horizons: Beyond the Basics
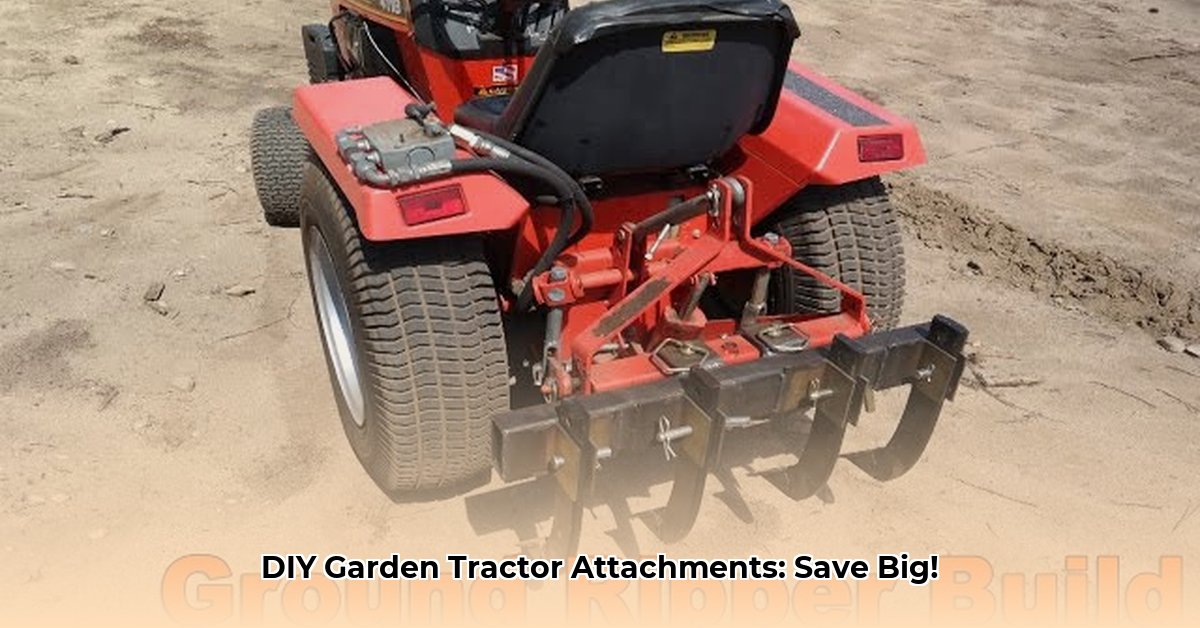
Once you grasp the basics, you can build trailers, rippers, specialized seeding tools, and much more. The limits are set by your creativity and skills and commitment to safety.
How to Ensure Safety When Building DIY Tractor Attachments: Key Considerations
Building your own attachments saves money, but careful planning and execution are vital for safety and longevity. Remember to always prioritize safety at each stage of the project. Careful planning and attention to detail are critical for creating safe and effective attachments. The correct use and selection of tools and materials can significantly reduce the risk of accidents. Regular maintenance of the tractor and its attachments can extend the life of your equipment and reduce the likelihood of failures and accidents. Always follow all safety regulations and industry best practices.